When SMART Lies and Your NAS Dies: A 48-Hour Recovery Saga
"SMART status: PASSED" - the biggest lie in storage monitoring. My WD Red drive was dying with 69 errors at LBA=0, clicking mechanically, yet SMART said everything was fine. A 48-hour battle with silent hardware failure that nearly cost me 4.5TB of data. ZFS saved me, but barely.

Or: How 69 UNC Errors at LBA=0 Nearly Cost Me 4.5TB of Production Data
This is one of those posts I never wanted to write - a catastrophe in my own homelab. You know, the place where we're supposed to break things safely, learn from mistakes, and generally have everything under control. Well, let me tell you about the time when "under control" went completely out the window.
It started on what should have been a casual Monday afternoon. September 1st, 2025, around 3 PM. I'd just restarted one of my XCP-NG hosts (b-dom-xen02) for some routine maintenance. Nothing fancy, just a quick reboot. What followed was a 48-hour journey through the depths of ZFS internals, SMART lies, and the kind of hardware failure that keeps sysadmins awake at night.
This is the story of how a "healthy" disk nearly killed my entire storage pool, and why SMART status "PASSED" means absolutely nothing when your disk's controller decides to quietly die.
The First Sign: NFS Just... Stopped
The initial symptom was deceptively simple. My XCP-NG host couldn't reconnect to the NFS shares on my TrueNAS server after the reboot:
Sep  1 18:42:24 b-dom-xen02 SM: [12509] FAILED in util.pread: (rc 32)
stdout: '', stderr: 'mount.nfs: Connection timed out'
"Connection timed out?" I thought. "Must be a network issue."
Except it wasn't:
[18:46 b-dom-xen02 ~]# ping 10.1.78.2
PING 10.1.78.2 (10.1.78.2) 56(84) bytes of data.
64 bytes from 10.1.78.2: icmp_seq=1 ttl=64 time=0.303 ms
Network was fine. Let me check if the NFS service is actually running:
[18:46 b-dom-xen02 ~]# rpcinfo -p 10.1.78.2
   program vers proto   port  service
    100000    4   tcp    111  portmapper
    100000    3   tcp    111  portmapper
    100005    1   udp    765  mountd
    100005    3   udp    765  mountd
    100005    1   tcp    765  mountd
    100005    3   tcp    765  mountd
    100003    2   tcp   2049  nfs
    100003    3   tcp   2049  nfs
Everything looked normal. The services were there, responding to RPC queries. But when I tried to mount manually:
mount -v -t nfs -o vers=3 10.1.78.2:/mnt/XCP-NG_POOL/N200 /tmp/test-nfs
mount.nfs: timeout set for Mon Sep  1 18:53:31 2025
mount.nfs: trying text-based options 'vers=3,addr=10.1.78.2'
mount.nfs: prog 100003, trying vers=3, prot=6
mount.nfs: trying 10.1.78.2 prog 100003 vers 3 prot TCP port 2049
mount.nfs: portmap query retrying: RPC: Timed out
This was getting weird. The NFS service was there but not really there. Like a zombie process - existing but not responding.

The Rabbit Hole Deepens
I SSH'd into the TrueNAS box to check things from that end. Everything seemed fine at first glance, but when I tried to browse the actual NFS export directories:
root@truenas[/mnt/XCP-NG_POOL/N200]# cd 30834b6b-2c18-cdcc-523b-85444b7d9727
root@truenas[.../30834b6b-2c18-cdcc-523b-85444b7d9727]# ll
total 206276706
drwxr-xr-x  2 nobody  wheel  uarch           10 Aug 31 22:00 ./
drwxr-xr-x  3 nobody  wheel  uarch            3 Jun 17  2024 ../
-rw-r--r--  1 nobody  wheel  uarch  24051311104 Aug 31 22:00 123a9870-64b5-4663-b8e8-812873025a30.vhd
The command just... hung. Not a good sign. The filesystem was there, the files were listed, but any actual I/O operation would freeze.
Time to restart the NFS service:
root@truenas:~# service nfsd restart
Stopping nfsd.
Waiting for PIDS: 1391 1392
And it hung there. Forever. The service wouldn't stop, wouldn't restart, just sat there mocking me.

The Nuclear Option: Hard Reboot
At around 7:30 PM, after exhausting all the gentle options, I decided to go nuclear. Connected to the Supermicro's iKVM and issued a hard reset.
What I saw on the console during boot made my blood run cold:
zio.c:2100:zio_deadman(): zio_wait waiting for hung I/O to pool 'XCP-NG_POOL'
vdev.c:5395:vdev_deadman(): slow vdev: /dev/gptid/8b757375-2c5f-11ef-8962-ac1f6b6b45ea has 3 active IOs
vdev.c:5395:vdev_deadman(): slow vdev: /dev/gptid/8b80819d-2c5f-11ef-8962-ac1f6b6b45ea has 3 active IOs
ZFS's deadman timer. This is ZFS's way of saying "Hey, I asked these disks to do something over 60 seconds ago, and they still haven't responded. Something is VERY wrong."
Both disks in my mirror pool were hanging on I/O operations. This wasn't a network problem or a service problem - this was hardware failure.

The SMART Deception
My first instinct was to check SMART status. Surely it would show something:
root@truenas[~]# smartctl -a /dev/ada1
SMART overall-health self-assessment test result: PASSED
PASSED? PASSED?!
But wait, let me look deeper:
Model: WDC WD100EFAX-68LHPN0 (10TB WD Red)
Power On Hours: 67,322 hours (~7.7 years)
ATA Error Count: 69 (device log contains only the most recent five errors)
69 errors. Let's see what they were:
Error 69 occurred at disk power-on lifetime: 64427 hours (2684 days + 11 hours)
  After command completion occurred, registers were:
  ER ST SC SN CL CH DH
  -- -- -- -- -- -- --
  40 41 00 00 00 00 00  Error: UNC at LBA = 0x00000000 = 0
Every. Single. Error. Was at LBA=0. The very beginning of the disk. Where ZFS keeps its metadata. The disk's controller was failing to read the most critical sector, yet SMART was happily reporting "PASSED" because the rest of the disk surface was fine.
And then there was the smoking gun I didn't see in the data but could hear with my own ears - a faint clicking sound from the drive bay. Not the harsh click of death, but a subtle mechanical hiccup that you'd only notice in a quiet room.

Isolation and Diagnosis
I had three identical 10TB WD Red drives:
- Disk A - 67,322 hours, 69 UNC errors, the clicking one
- Disk B - 66,798 hours, 0 errors, silent
- Disk C - 31,160 hours, spare drive, perfect health
My first thought was "Could this be the infamous Intel Atom C2750 bug?" - that manufacturing defect that killed countless Supermicro boards. But no, my board wasn't affected by that issue.
Time for a critical test: I physically removed both drives from the XCP-NG_POOL and tried booting the server with just the DOM pool. The server booted perfectly. The hardware was fine - the problem was isolated to the pool drives.
The Recovery Dance Begins
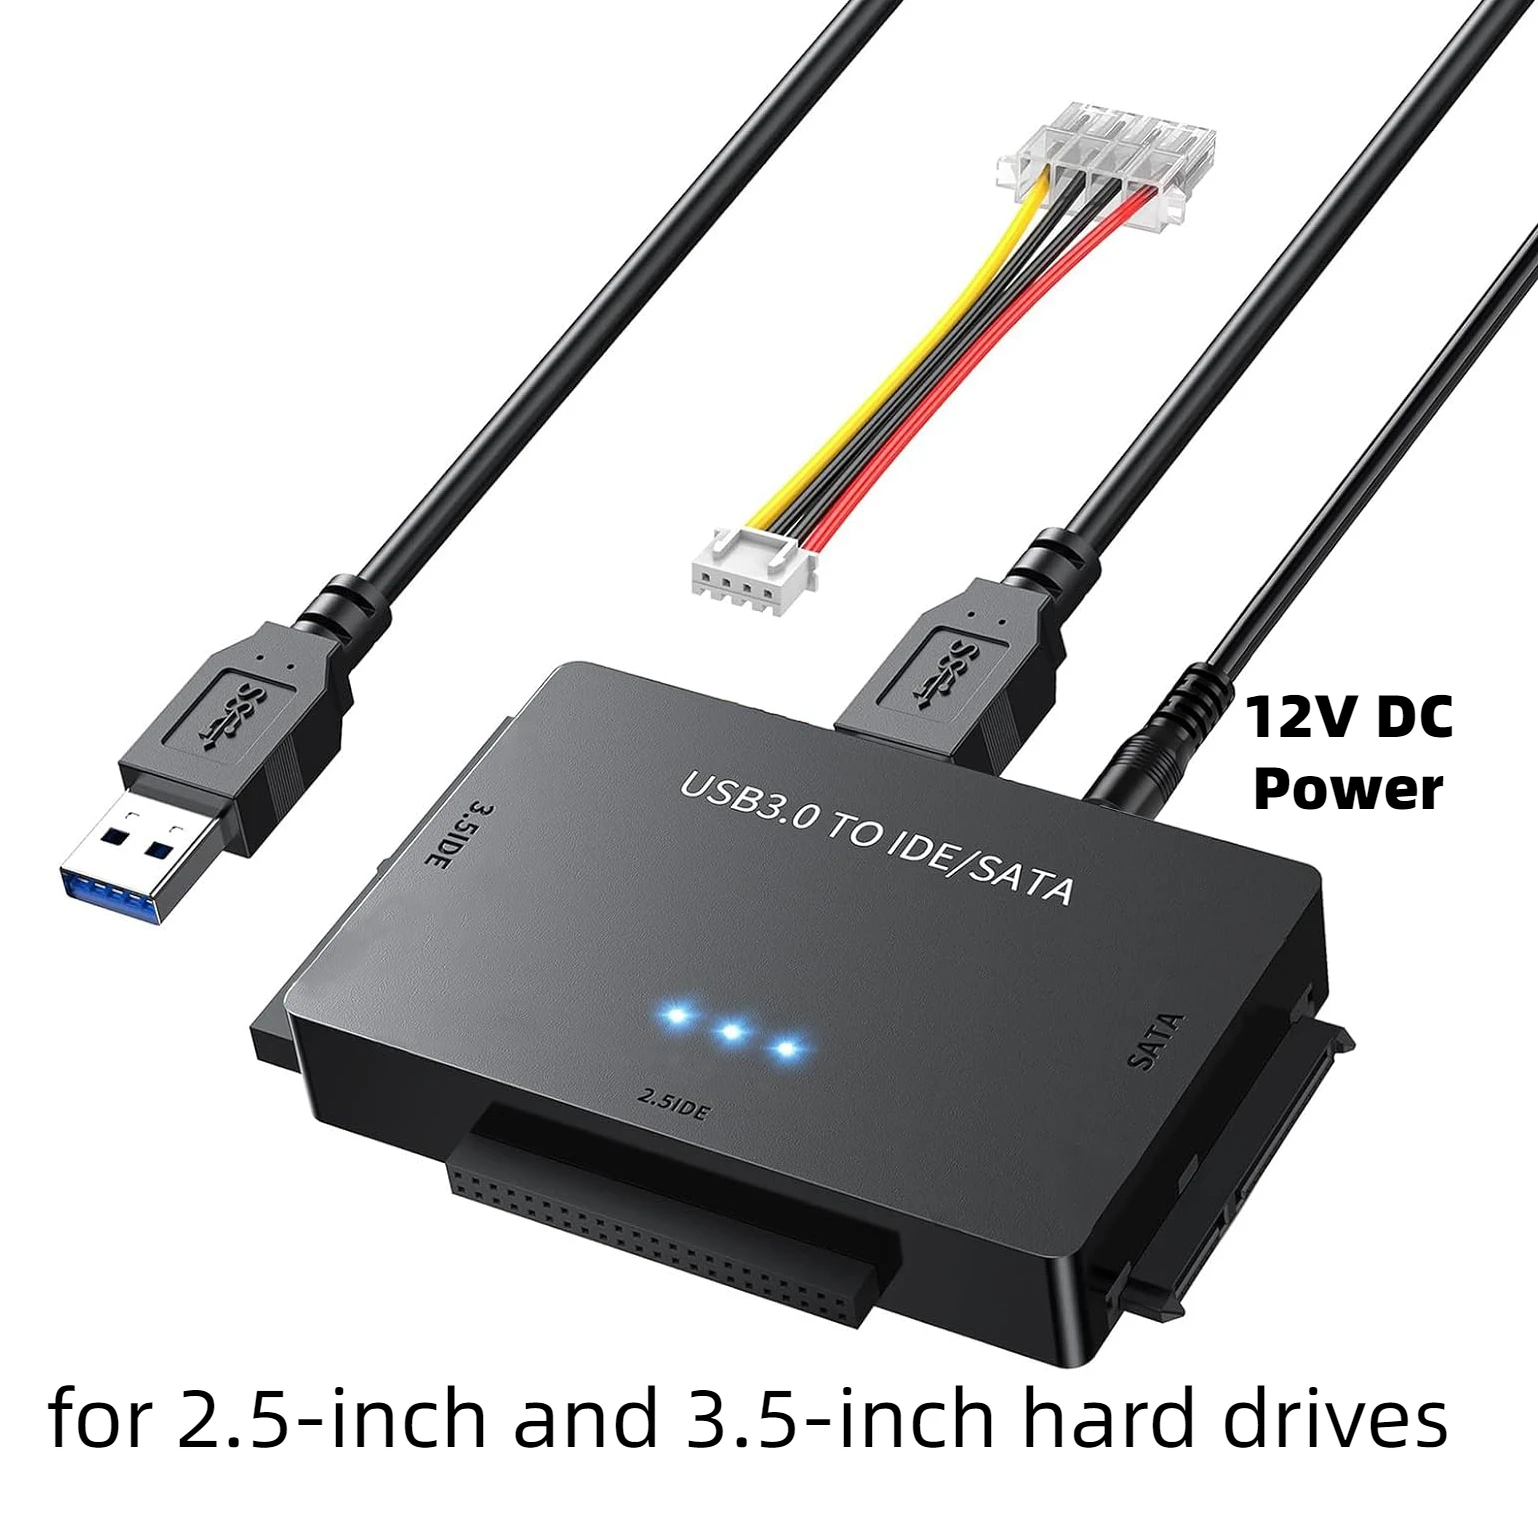
Now came the delicate part - recovering 4.5TB of production data from a partially failed mirror. I had my HP MicroServer as a test bench, so I started with Disk B (the good one).
Phase 1: Read-Only Import
First rule of data recovery: never write to a damaged pool until you've backed up what you can.
zpool import -o readonly=on -d /dev/gptid XCP-NG_POOL
Success! The pool imported. I could see my datasets:
XCP-NG_POOL (Mirror, 10TB effective)
├── N100 (dataset) → 4.0TB → NFS for XCP-NG pool #1 (47% usage)
├── N200 (dataset) → 2.7TB → NFS for XCP-NG pool #2 (4% usage)
└── N355 (dataset) → 4.7TB → NFS for XCP-NG pool #3 (20% usage)
But here's where things got interesting. When I tested read speeds:
- With Disk A connected: 12KB/s (yes, kilobytes)
- With only Disk B: 40MB/s
Every read attempt on Disk A was hitting that LBA=0 error, causing retries and timeouts. The disk was essentially poisoning the entire pool's performance.
Phase 2: Critical Data Backup
I had to prioritize. Out of 4.5TB, I identified 98GB of absolutely critical VMs and data that needed immediate backup. At 40MB/s from Disk B alone, this took about 3 hours. Every minute felt like an hour - that special kind of time dilation that only happens during data recovery.
Phase 3: The Read-Write Transition
This was the scary part. I needed to import the pool read-write to actually fix it, but ZFS would immediately try to resilver and sync metadata with the phantom Disk A.
zpool import XCP-NG_POOL
The import hung. For hours. I could see ZFS scanning, trying to reconcile the metadata between the disks. The wait was excruciating. I kept checking dmesg, watching for any signs of progress or failure.
Finally, after what felt like an eternity (but was actually about 12 hours):
Sep 2 2025 12:04:23 - pool_import XCP-NG_POOL successful
Phase 4: Cleaning Up the Mess
Now I could finally clean things up:
# Clear any I/O errors
zpool clear XCP-NG_POOL

# Remove the ghost reference to failed Disk A
zpool detach XCP-NG_POOL 9856414046230171971

# Check status
zpool status XCP-NG_POOL
The pool was now running on a single disk - dangerous, but stable.
Phase 5: The Scrub of Truth
Before adding a replacement disk, I needed to verify data integrity:
zpool scrub XCP-NG_POOL
The scrub started with an estimated 18 hours to completion. My heart sank. But then something beautiful happened - as the scrub progressed, it sped up dramatically:
Scrub statistics:
  Data scanned: 4.48TB
  Speed: 4.11-6.66 GB/s (variable)
  Errors repaired: 0B
  Total time: ~8 hours
Zero errors repaired! Despite the hardware failure, ZFS had protected my data perfectly. This is why we use ZFS, folks.
Phase 6: Rebuilding the Mirror (GUI Limitations Edition)
Here's where TrueNAS GUI showed its limitations. You'd think adding a disk to create a mirror from a single disk would be straightforward, right? Wrong.
First, I wiped the new disk clean:
# First, wipe it clean through TrueNAS GUI
Storage → Disks → ada4 → Wipe
Then I tried the obvious options:
- "Expand" - Nope, this just expands the existing disk to use all available space
- "Add Vdevs" - Hell no! This would create a stripe (RAID0), not a mirror
- "Add as spare" - Added successfully, but just sits there waiting for a failure
The GUI literally has no option to convert a single disk to a mirror. After fumbling around and even accidentally almost creating a stripe (which would have been catastrophic), I had to resort to the command line:
# First, remove the disk from spare status
zpool remove XCP-NG_POOL gptid/750ebeec-887b-11f0-a1a9-ac1f6b6b45ea

# Then attach it as a mirror to the existing disk
zpool attach XCP-NG_POOL gptid/8b757375-2c5f-11ef-8962-ac1f6b6b45ea \
    gptid/750ebeec-887b-11f0-a1a9-ac1f6b6b45ea

# Check the status
zpool status -v XCP-NG_POOL
Finally! The resilver started:
pool: XCP-NG_POOL
state: ONLINE
status: One or more devices is currently being resilvered.
scan: resilver in progress since Wed Sep 3 06:08:56 2025
      1.63T scanned at 251M/s, 655G issued at 98.1M/s, 4.48T total
      655G resilvered, 14.27% done, 11:24:29 to go
config:
      NAME                                            STATE     READ WRITE CKSUM
      XCP-NG_POOL                                     ONLINE       0     0     0
        mirror-0                                      ONLINE       0     0     0
          gptid/8b757375-2c5f-11ef-8962-ac1f6b6b45ea  ONLINE       0     0     0
          gptid/750ebeec-887b-11f0-a1a9-ac1f6b6b45ea  ONLINE       0     0     0  (resilvering)
After about 11 hours of resilvering at ~100MB/s, I finally had a fully redundant mirror pool again. Note to self: sometimes the CLI is still king, even in 2025.
The Silent Killer: Why SMART Failed Me
This incident taught me a harsh lesson about the limitations of SMART monitoring. Here's what SMART actually monitors:
| Failure Type | SMART Detection | What You'll See |
|---|---|---|
| Surface defects | ✅ High | Reallocated sectors, pending sectors |
| Mechanical degradation | ✅ Medium | Seek errors, spin retry count |
| Controller PCB failure | ❌ None | Disk stops responding |
| Motor failure | ✅ High | Spin up time, temperature |
My failure was a PCB controller issue - the electronics that interface between the SATA bus and the disk mechanism. When this fails, SMART can't even report the problem because the reporting mechanism itself is compromised. It's like asking a broken phone to call for help.
The 69 UNC errors at LBA=0 were the only hint, buried in the ATA error log that most monitoring systems don't even check. The overall SMART status remained "PASSED" because the drive firmware could still respond to basic queries.

Lessons Learned
- SMART status "PASSED" is not enough. You need to monitor:
- ATA Error Count (not just SMART attributes)
- ZFS events (
zpool events -v) - Actual I/O performance metrics
- Silent failures are real. The most dangerous hardware failures are the ones that don't announce themselves. My disk was dying for who knows how long before it finally affected operations.
- Test your disaster recovery plan. Having that HP MicroServer as a test bench saved my bacon. I could safely test different recovery strategies without risking the production server.
- ZFS redundancy works. Despite a catastrophic hardware failure, I lost zero data (except maybe some Graylog logs from that day's write cache). The filesystem's integrity checking and redundancy did exactly what it was supposed to do.
- Listen to your hardware. That subtle clicking sound I heard? That was the disk trying to tell me something SMART couldn't.
- Document everything. Throughout this ordeal, I kept detailed notes of every command, every error, every hypothesis. This post exists because of those notes.
RAID Is Not Backup (But ZFS Saved My Ass Anyway)
Let me be crystal clear about something this incident drove home: RAID is not backup. Not RAID1, not RAID5, not even ZFS mirror or RAIDZ. RAID protects you from hardware failure, but it won't save you from:
- Accidental deletion (rm -rf in the wrong place)
- Ransomware or malware
- Corruption that gets replicated to all disks
- Administrator mistakes
- Software bugs that corrupt data
What RAID gives you is availability and uptime when hardware fails. What saved me here wasn't just the mirror - it was ZFS itself.
Here's why ZFS is fundamentally different from traditional RAID: ZFS is a filesystem that directly manages the disks. It doesn't rely on a hardware RAID controller to present a logical volume. This is crucial, and here's why:
In a traditional hardware RAID1 setup, if Disk A starts silently corrupting data (like mine was doing at LBA=0), the RAID controller has no way to know which copy is correct. It might happily serve corrupted data from Disk A to your OS, or worse - during a rebuild, it might overwrite good data on Disk B with corrupted data from Disk A. The controller is "dumb" - it just mirrors blocks without understanding the data structure.
ZFS, on the other hand, checksums everything. Every block of data has a checksum stored separately. When ZFS reads data, it verifies the checksum. If Disk A returns corrupted data, ZFS knows immediately because the checksum won't match. It then reads from Disk B, verifies that checksum matches, and serves the good data. Even better - it will automatically repair the corrupted block on Disk A using the good data from Disk B.
This is exactly what happened in my case. Despite Disk A failing catastrophically at the metadata level, ZFS could still identify which data was valid using checksums. During my scrub, it found zero errors to repair because it had been continuously self-healing throughout the failure period, right up until Disk A became completely unresponsive.
In a traditional RAID setup with a hardware controller, this failure mode could have been catastrophic. The controller might have:
- Served corrupted metadata to the OS, causing filesystem corruption
- During resync, propagated the corrupted data from the failing disk to the good disk
- Silently corrupted data without any way to detect or correct it
With ZFS, the OS is the RAID controller, and it's a smart one. It understands the filesystem structure, maintains data integrity through checksums, and can make intelligent decisions about which copy of data to trust.
The Aftermath
Total downtime: 18 hours (with 3 hours of critical impact)
Data loss: Minimal - just some Graylog logs from that day
Cost: One replacement WD Red (already had a spare, thankfully)
Lessons learned: Priceless
The most interesting part? This failure pattern - intensive random I/O from multiple VM workloads causing premature controller failure - is apparently more common than you'd think. Those consumer-grade WD Reds, despite being marketed for NAS use, aren't really designed for the kind of punishment a virtualization workload dishes out.
I'm now looking at enterprise-grade drives (WD Gold or Seagate Exos) for the next replacement cycle. The price difference isn't that much when you factor in the cost of your time and potential data loss.
Final Thoughts
This incident perfectly illustrates why homelabs are so valuable. Where else would I get hands-on experience with this kind of failure mode? In a production environment, this would have been a disaster. In my homelab, it was an intense learning experience.
The scariest part wasn't the failure itself - it was how silent it was. No alerts, no warnings, just gradually degrading performance until complete failure. If I hadn't needed to reboot that XCP-NG host, this could have progressed to the point where both disks failed, taking all the data with them.
So check your ATA error logs, people. Set up monitoring for ZFS events. And maybe, just maybe, don't trust SMART status as your only indicator of disk health.
Because sometimes, the most dangerous failures are the ones that whisper instead of scream.
Total recovery time: 48 hours
Data integrity: 100% (minus write cache)
Sanity level: Questionable but recovering
New appreciation for ZFS: Infinite


