20x4 LCD display with data from HomeAssistant using ESPHome
This is kind of note to myself because I've spent quite some time figuring everything out.
My goal was to use LCD monitor with 20 chars x 4 rows with one of ESP32 boards to display as many usefull information as possible.
First what we need - you will find everything in links below:
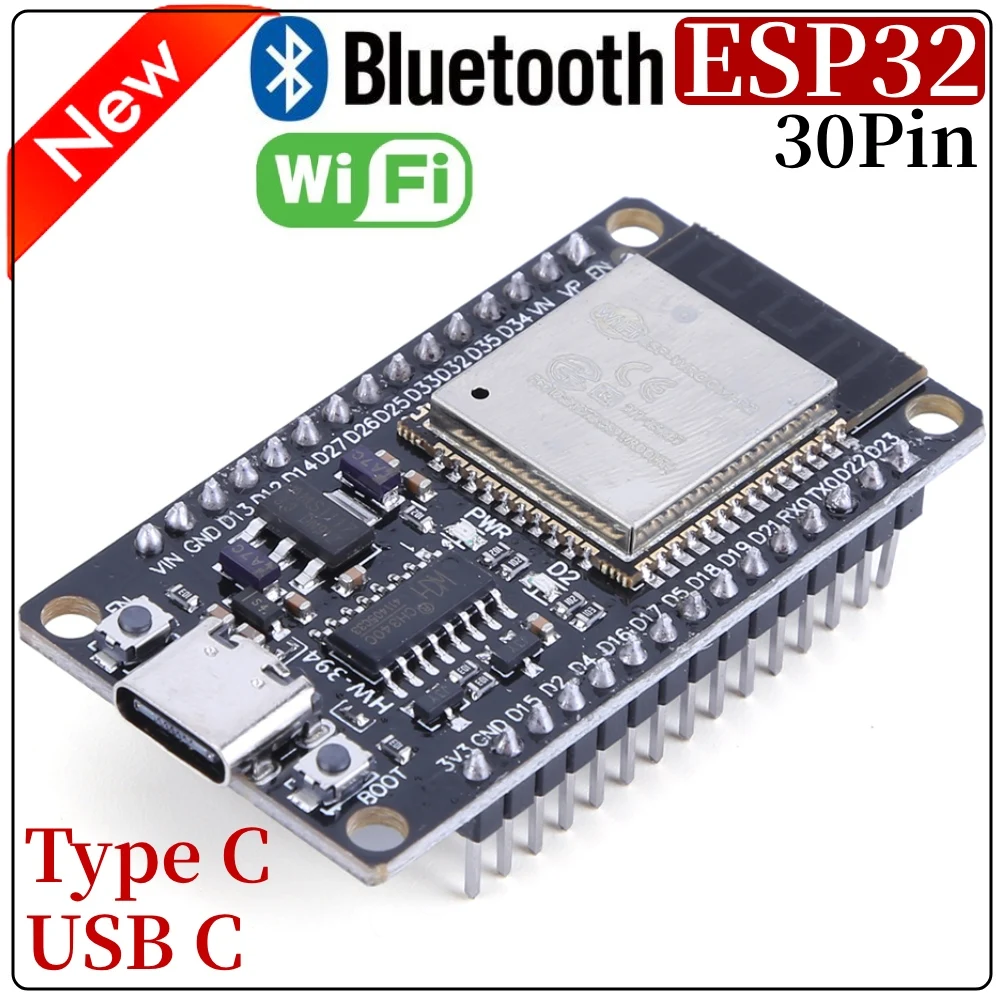
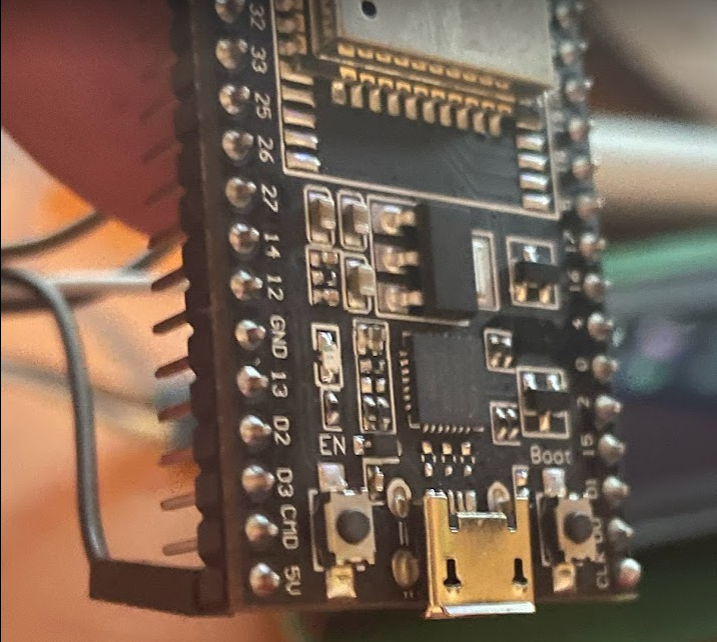
- ESP32 board:
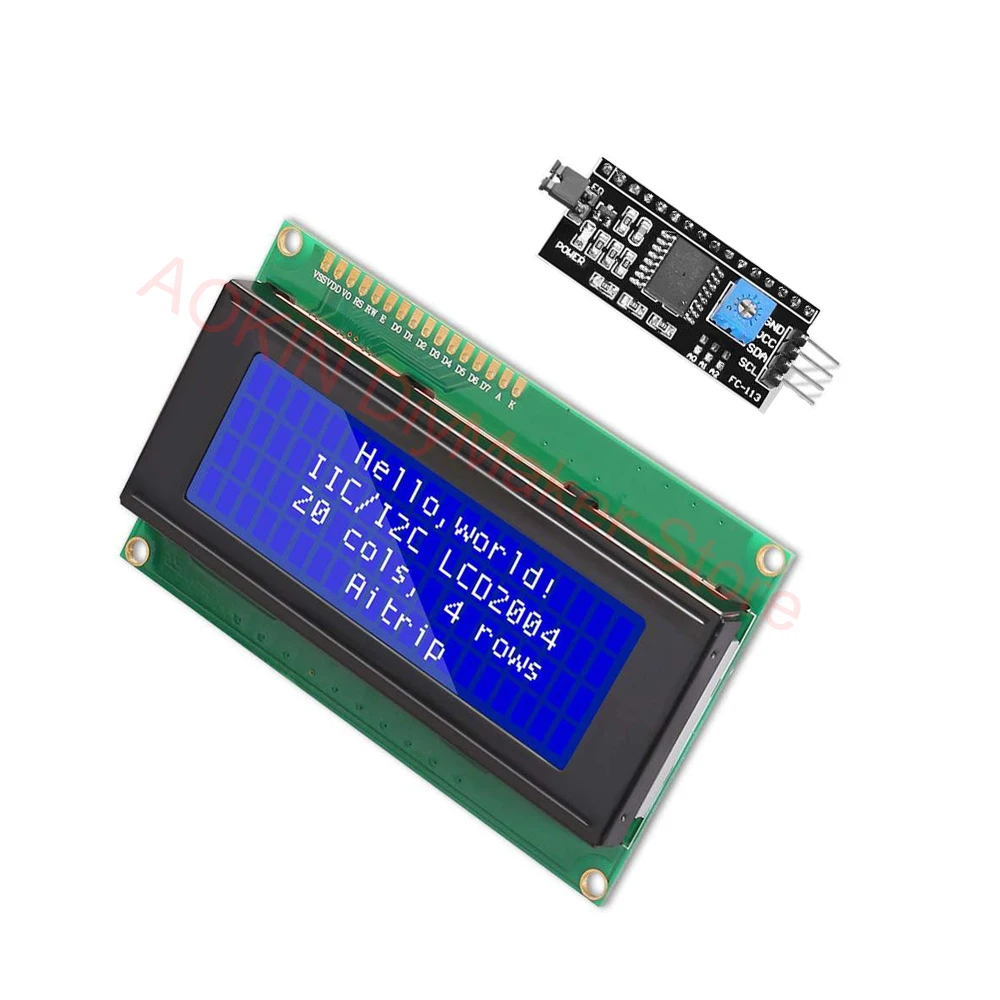
2. LCD display with I2c connector:
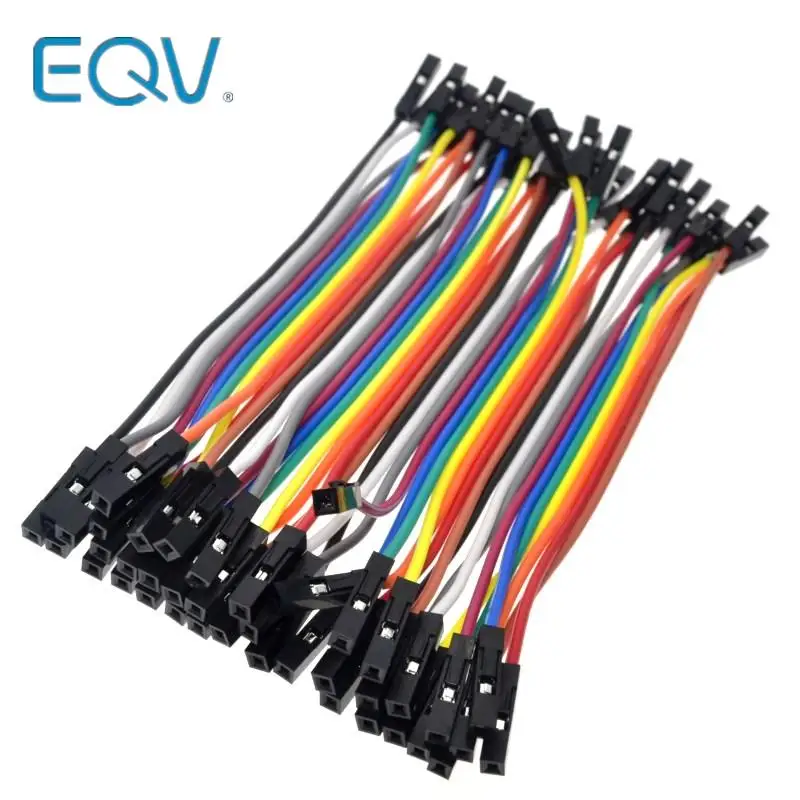
3. Some famale to female cables to connect display with ESP:
4. Good quality USB data cable:

Now for the connection:
Connect 5V pin on ESP:
to VCC pin on I2C board on LCD display:
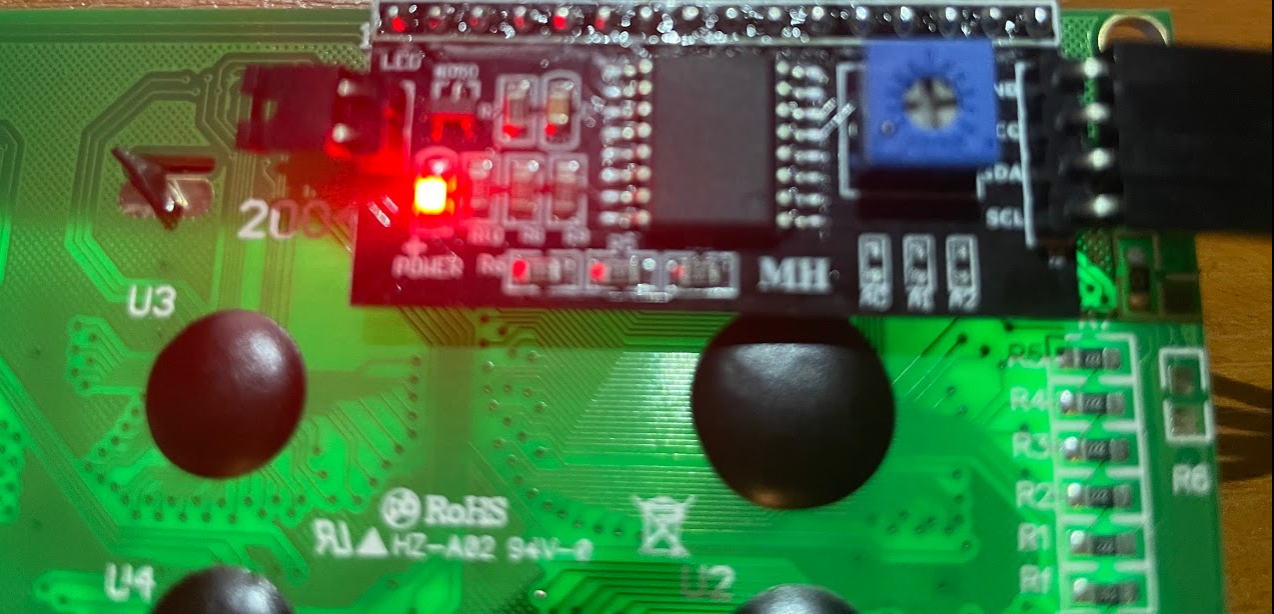
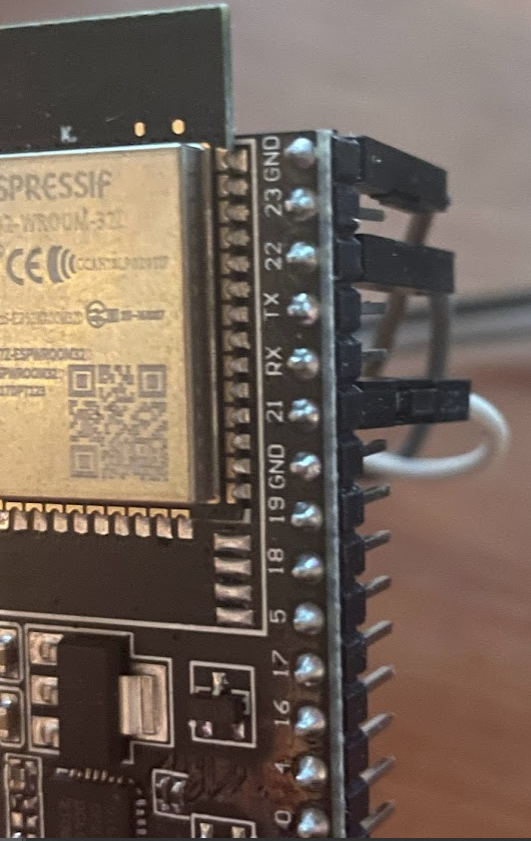
Same with GND (ground), SDA and SCL pins. SDA go to pin 21 on ESP32, and SCL to pin 22
Now connect everything with USB cable to your PC. If you got unrecognised device you will need to install drivers for it. Here is the link: https://www.silabs.com/developers/usb-to-uart-bridge-vcp-drivers
Of course you need good quality USB cable, because often there is only power cable with cheapest ones and no data flow. Keep it in mind if you are unable to detect your ESP32.
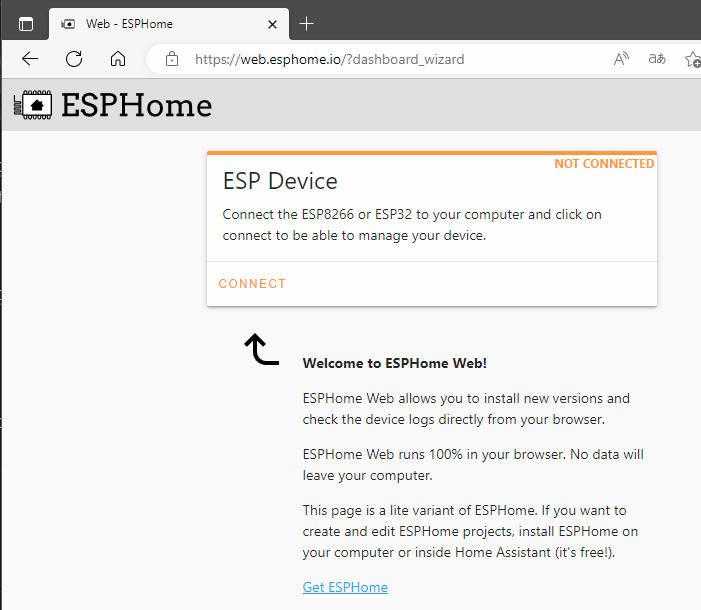
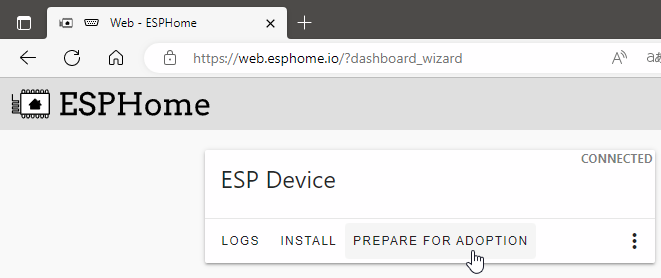
Now go to ESP wizard webpage - this works only on Chrome and Edge:

Click connect and choose Prepare for Adoption, after choosing your COM port:

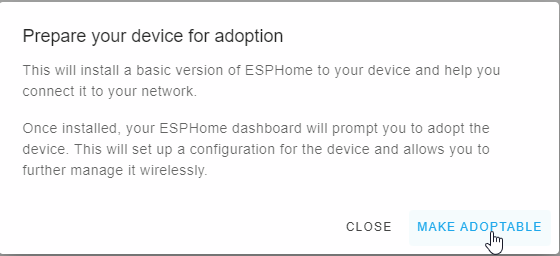
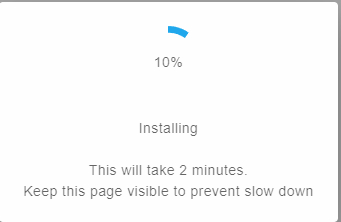
Wait some time for installing base image. If this process isn't initialised properly, do it again this time pressing boot button on ESP32 board.
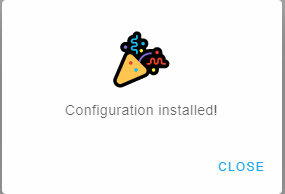
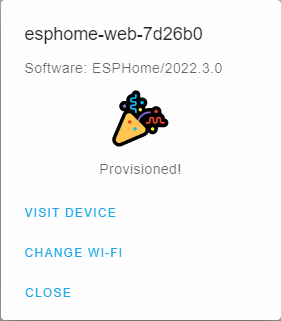
After initial install you should be getting this confirmation image:
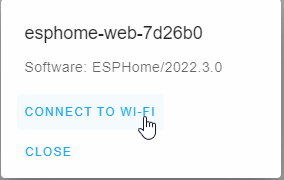
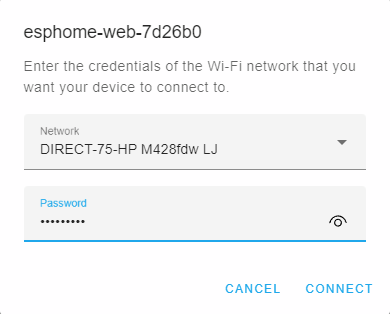
Choose connect to Wifi and enter your wifi password. Important: SSID have to be visible! Hidden SSID will not work at this point. We will get to that later.
Now you can visit device to get IP address, but it is not mandatory.
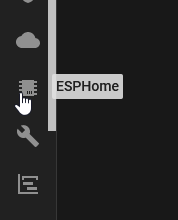
Now for the Home Assistant part. You will need ESPHome Addon. Install it and start. Go to it interface from sidebar of HA:
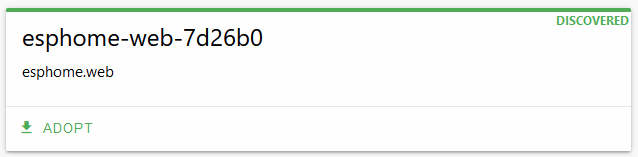
You should see your device ready to Adopt
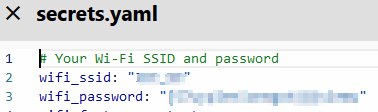
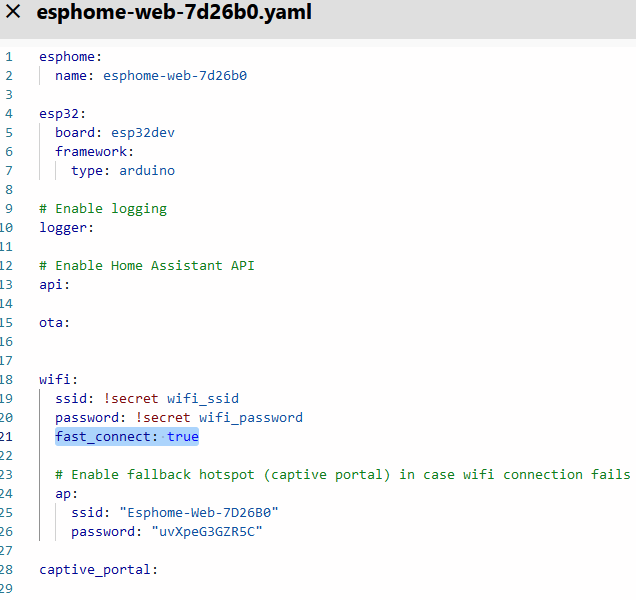
Before clicking Adopt, go to the top right corner and click Secrets, enter your wifi setting in this format:
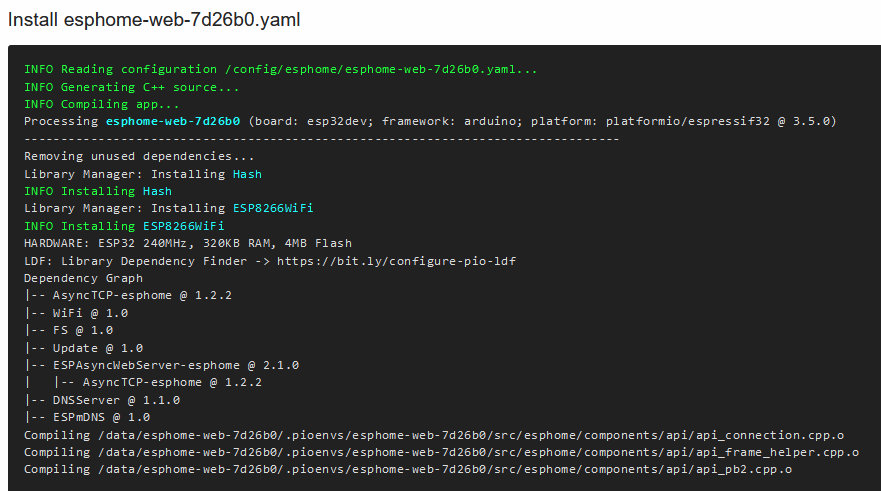
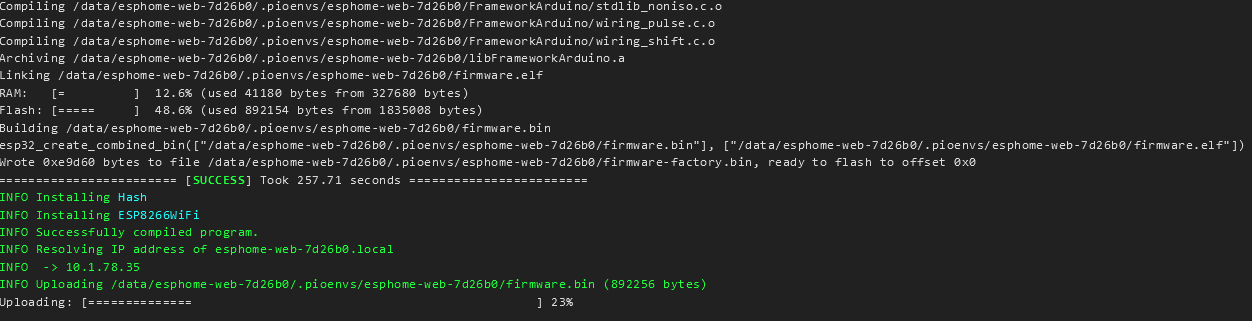
Save, and click Adopt now. Wait while esphome image is compiled and transfered to ESP.
After compilation image is transferred automatically to ESP
Now, if you want to switch to different network with hidden SSID like I have separate Wifi network for my IOT devices, you will need to alter your secrets first, then add fast_connect: true to ESP program by clicking EDIT on new device in ESPHome.
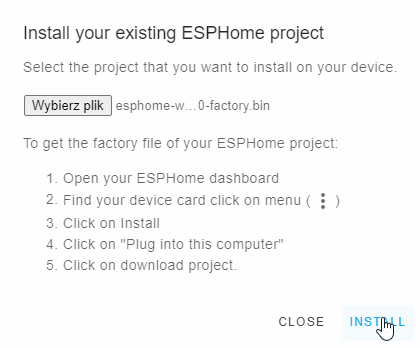
Click Save and Install, you can install it directly Over The Air, or download newly created image and install it manually with ESP WIzard from beggining.
If you choose second option, simply click install and choose file you generated in ESPHome.
I hope you get ESP properly set up and visible in ESPHome Dashboard. It should appear like this with ONLINE sign:

Now we need to code support for our LCD. First add i2c support by adding this lines:
i2c:
sda: GPIO21
scl: GPIO22
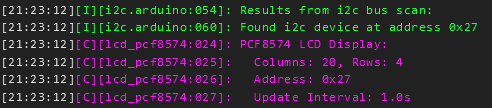
scan: TrueScan: True option is well, optional, but is helpfull if your LCD have different address than default (0x3F).
Now we can add some sensors from Home Assistant taht will be visible to our program on ESPHome. I choose my upload and download speed, and my home temperature from internat sensor, and external temperature from weather integration. Note you can choose attribute as sensor value if sensor from HA have more than one value like weather integration. ID is what you will use in ESPHome program. Also note that "sensor" componenet in ESPHome is only for numeric values.
sensor:
  - platform: homeassistant
    id: speedtestupload
    entity_id: sensor.speedtest_upload
    internal: true
  - platform: homeassistant
    id: speedtestdownload
    entity_id: sensor.speedtest_download
    internal: true
  - platform: homeassistant
    id: tempout
    entity_id: weather.dom
    attribute: temperature
    internal: true
  - platform: homeassistant
    id: tempgabinet
    entity_id: sensor.temperature_158d000237939f
    internal: true
For text values like name of song in Spotify or whatever text-wise, you have to use text_sensor, lets add some to our program:
text_sensor:
  - platform: homeassistant
    entity_id: media_player.spotify_user
    attribute: media_title
    id: spotifysong
    internal: true
  - platform: homeassistant
    entity_id: media_player.spotify_user
    attribute: media_artist
    id: spotifyartist
    internal: true
Same as with sensor but for text values. internal: true in both cases means that values are one directional, so ESP can view it from HA, but can't pass it back to HA.
If you want to display current time you will need also time: component:
time:
- platform: sntp
  id: my_time
And finally we need to program our display. It is wise to look at documentation first here: https://esphome.io/components/display/lcd_display.html
display:
- platform: lcd_pcf8574
dimensions: 20x4
address: 0x27
lambda: |-
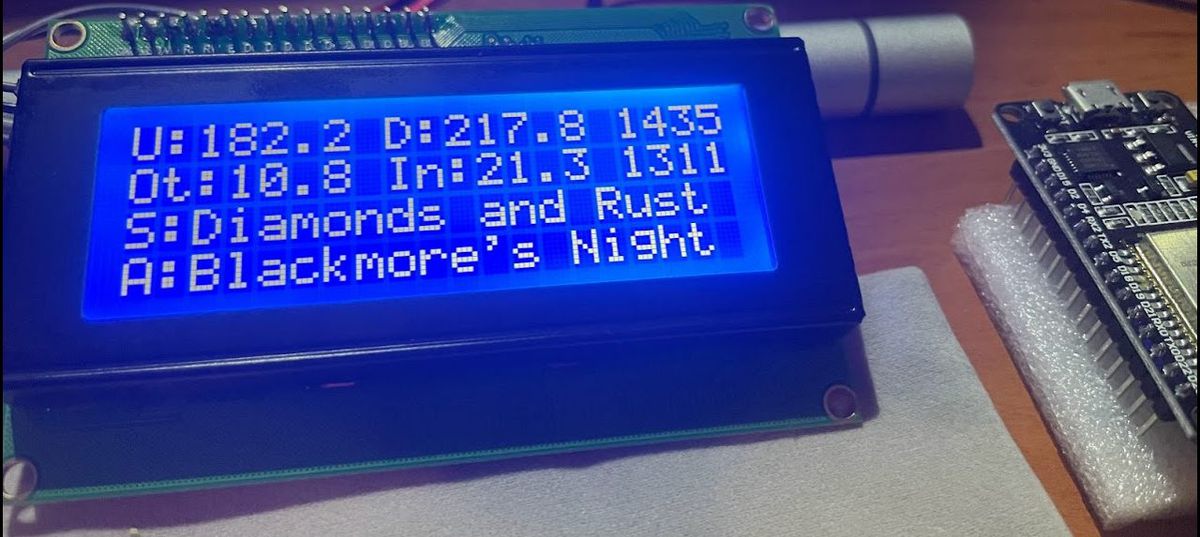
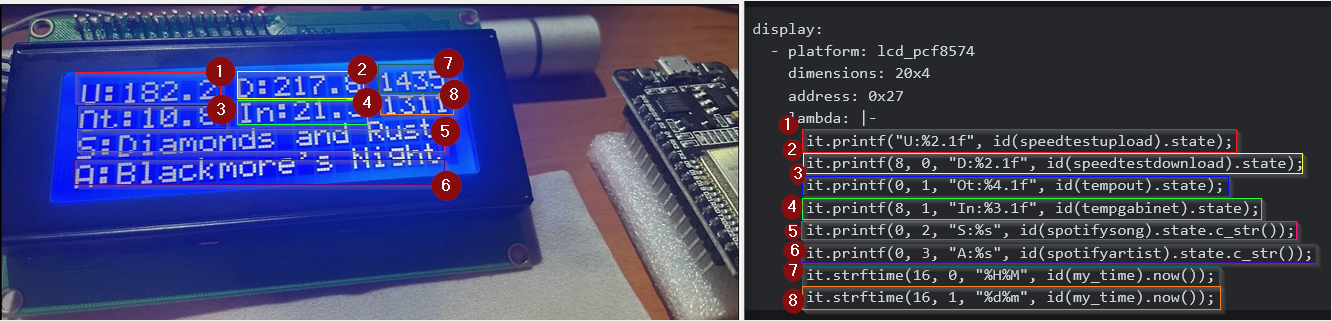
it.printf("U:%2.1f", id(speedtestupload).state);
it.printf(8, 0, "D:%2.1f", id(speedtestdownload).state);
it.printf(0, 1, "Ot:%4.1f", id(tempout).state);
it.printf(8, 1, "In:%3.1f", id(tempgabinet).state);
it.printf(0, 2, "S:%s", id(spotifysong).state.c_str());
it.printf(0, 3, "A:%s", id(spotifyartist).state.c_str());
it.strftime(16, 0, "%H%M", id(my_time).now());
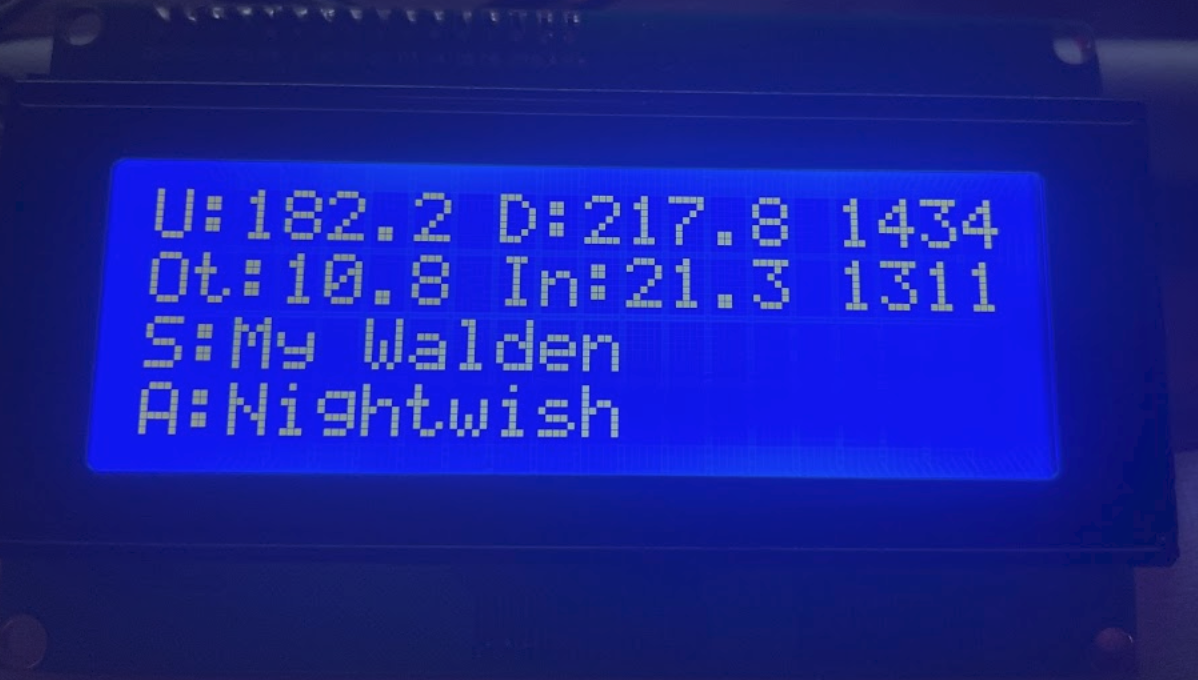
it.strftime(16, 1, "%d%m", id(my_time).now());Break down:
display: - mandatory componnent
platform: lcd_pcf8574 - name of used LCD display - this one is valid for every 20x4 or 16x2 with i2c module
address: addres at which our display is configured. If you have Scan: true under i2c: component, you should get exact addres at your display is:
lambda: |- this is actuall program for displaying characters
What is what I marked on this diagram:
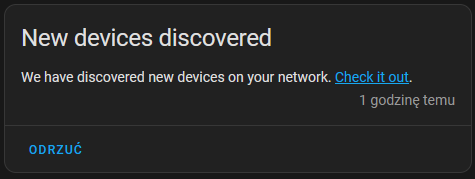
Finally install it on your device, and you will need Home Assistant integration of ESPHome installed as well as addon. When new ESP device is found on the network it will automatically show in HA as ready to configure. This has to be done in order to echange data between HA and ESPHome:
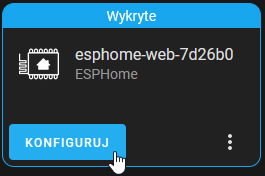
Just click configure, choose its location and thats it.
If everything is done correctly LCD will update itself every time sensor from HA changes, and current value will be shown on display.
I'm currently working on displaying values from my central heater on one of these. Stay tuned, and feel free to comment if you have any trouble with configuration.
Buy Me a Coffee
Fuel my creativity with a coffee — every sip keeps this blog running!

Support This Blog — Because Heroes Deserve Recognition!
Whether it’s a one-time tip or a subscription, your support keeps this blog alive and kicking. Thank you for being awesome!
Tip Once